Don't you love a bulletin board that is happy and bright...and educational?
I know I do! Unfortunately, my husband (also a teacher), did not have the same standards for bulletin boards. In fact, take a look at the bulletin board that I'm pretty sure he had in his classroom for at least five years! Yes, five years!
Every summer as the new school year was approaching, I would beg him to let me change it for him...and each year he politely refused my help...until this year. Yes, miracle of miracles, my husband agreed to let me change up his bulletin board!
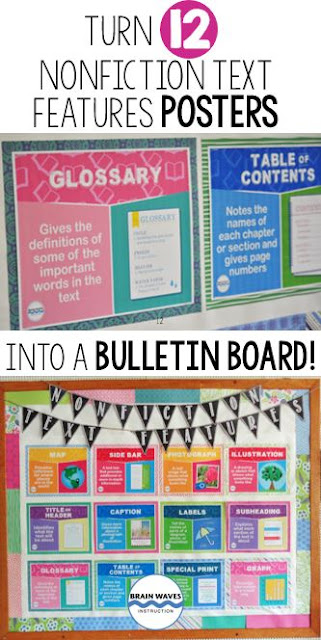
I didn't waste any time gathering materials for a bulletin board that would be more aesthetically appealing, but still be education. I assembled the following items: 12 nonfiction text features posters, patterned scrapbook paper, bulletin board paper, tape, glue, scissors, and string.
I didn't waste any time gathering materials for a bulletin board that would be more aesthetically appealing, but still be education. I assembled the following items: 12 nonfiction text features posters, patterned scrapbook paper, bulletin board paper, tape, glue, scissors, and string.
Then, I glued each poster to a piece of patterned paper. Since the scrapbook paper was a little long, I trimmed it first. Next, I stapled the posters to the bulletin board in a grid pattern (of course, these would be fun strung along a clothesline on the bulletin board, too).
Oh, and I had to get creative with the bulletin board trim because I knew my husband wouldn't have any. So, do you remember how I trimmed the scrapbook paper to fit behind the posters? Well, I just saved those trimmings and lined them around the board. This creates a fun patchwork border.
Pretty soon the posters were up...but I needed a sign.
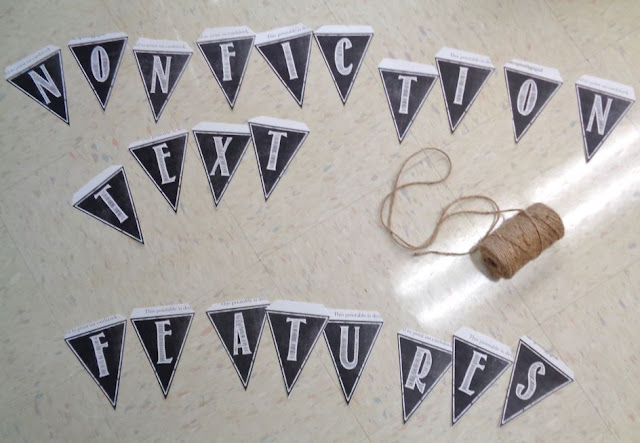
That's when I found this AMAZING set of FREE printable chalkboard letters! They were perfect, so I printed out enough letters to make the sign. As I cut them out, I also cut a little tab above each letter. I knew that this would make assembling the banner of letters easier later.
In no time I had all the letters I needed.
Then, I folded over the tab on each letter. I placed the string under the tab and taped it down.
Just like that my signs were ready and strung up above the posters.
And...the mission of a creating a bright, fun, and educational bulletin board was accomplished. However, that wasn't even the best part!
The best part was the remnants of the old bulletin board in the trash can. It was reason enough to celebrate!
If you're looking to spruce up one of your bulletin boards (or your spouse's), then you can download all 12 of the Nonfiction Text Features posters for FREE HERE (for a limited time).
Thanks for stopping by,
Mary Beth
P.S. If you're looking for more fun ways to help students learn about nonfiction, then, you might want to check out these popular resources:
 |
| CLICK HERE to LEARN MORE |
 |
| CLICK HERE to LEARN MORE |
 |
| CLICK HERE to LEARN MORE |


No comments:
Post a Comment